Warning! The content within this article is over 36 months old and, therefore, may be out of date.
Upgrading to VMware vRealize Suite Lifecycle Manager v2.1
Share this article on:


VMware vRSLCM
Published on 3 May 2019 by Christopher Lewis. Words: 297. Reading Time: 2 mins.
Introduction
In this really short blog post we’re going to be showing the step by step process of upgrading your existing deploy of VMware vRealize Suite Lifecycle Manager (vRSLCM) to the latest version (which at the time of writing is v2.1).
Why upgrade to vRSLCM 2.1?
- You can now manage the lifecycle of a VMware Identity Manager provider (i.e. change the vIDM configuration settings!).
- You can now remove single components/applications from a deployment without having to delete the whole deployment.
- You can now define product level certificates for vRealize Automation (i.e. separate IaaS Web and IaaS Manager certificates).
Full release notes for VMware vRealize Suite Lifecycle Manager 2.1 can be found here .
Step by Step Guide
Prerequisites
- A deployed and working version of vRSLCM prior v2.1
- An internet connection to enable the download of the upgrade.
Note:
Make sure you have a VM-level snapshot before you start the upgrade process so you can roll back if it fails.
Walkthrough
- Open a browser and navigate to
https://<vrslcm.fqdn>.
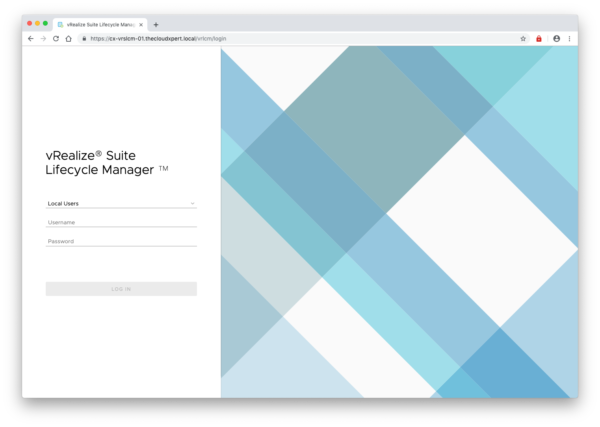
- Log into vRSLCM using either using the default administration account (admin@localhost) or select VMware Identity Manager from the drop down.
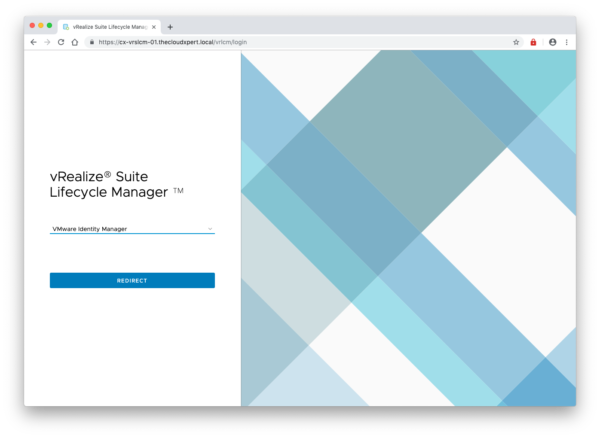
- Click Redirect.
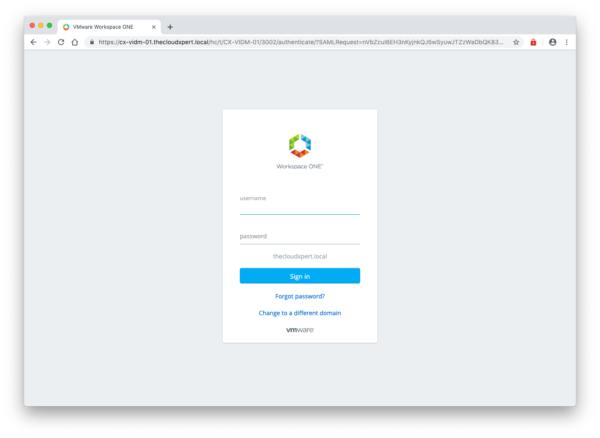
- Type the username and password of a user with the LCM Admin role assigned and click Sign-In.
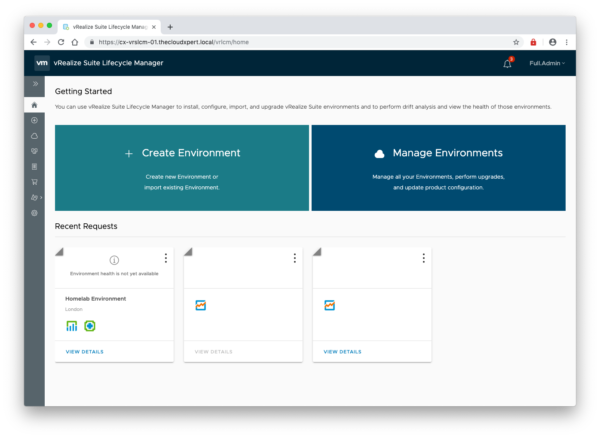
- Click Settings.
- Click Update.
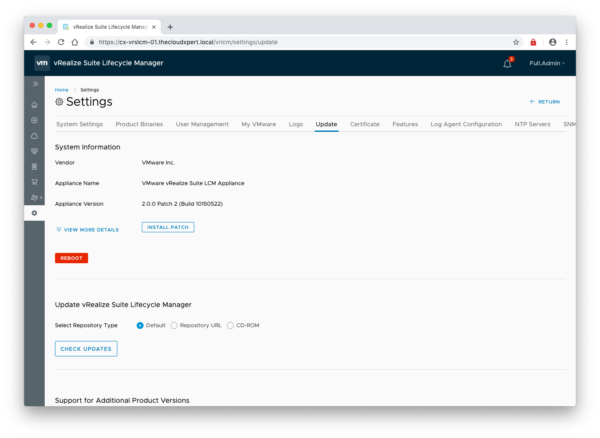
- Click Check Upgrades.
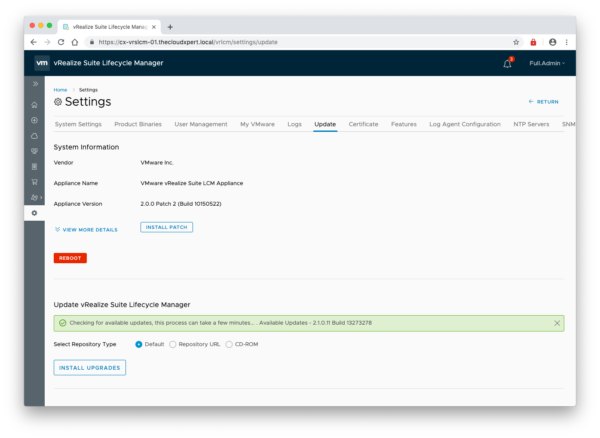
- Click Install Upgrade.
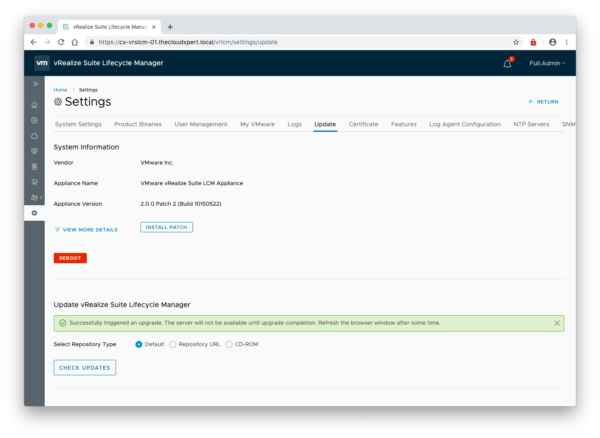
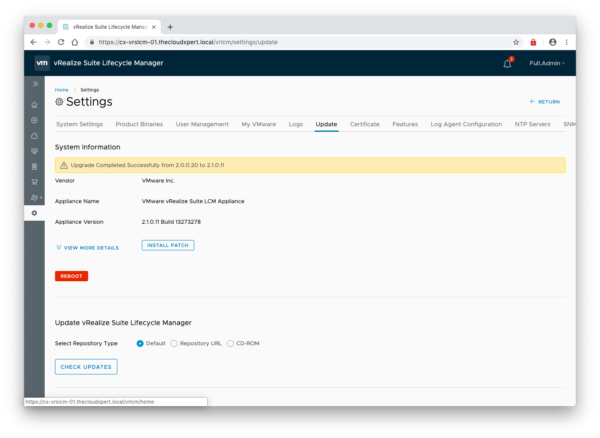
- Once the upgrade has completed, click Reboot.
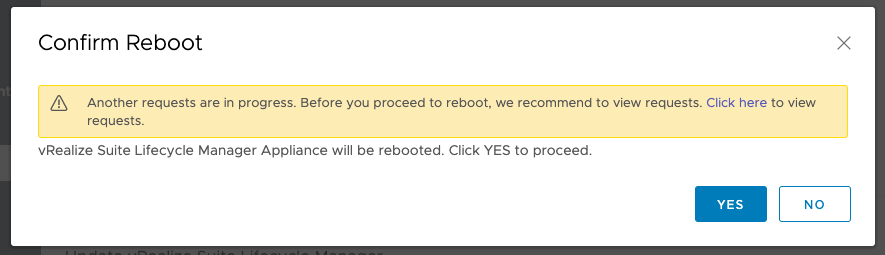
- If prompted with the warning, check to confirm it is OK to reboot and then click Yes.
Note:
You may notice no changes in the UI straight away, so refresh the browser window and log in again if necessary.
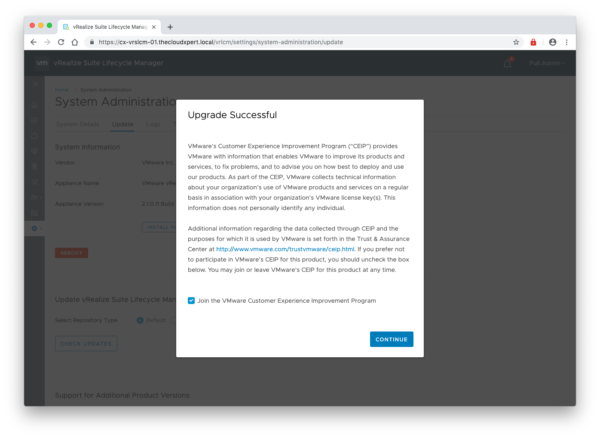
- Click Continue.
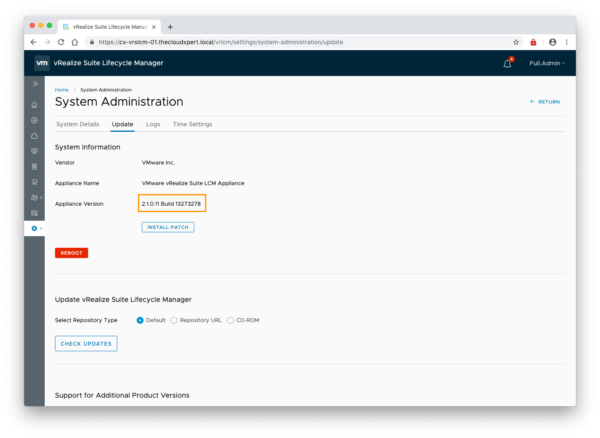
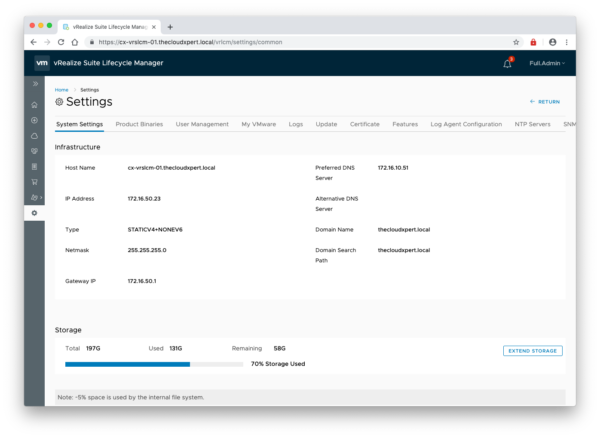
- Navigate to Settings > System Administration > Update and confirm the upgrade has taken place.
Note:
The changes in Settings UI from v2.0 to v2.1
And that is all there is to it!
Published on 3 May 2019 by Christopher Lewis. Words: 297. Reading Time: 2 mins.
Share this article on:
Related Post(s):
- vRealize Suite Lifecycle Manager (vRSLCM) SSLHandshakeException error after updating VIDM SSL certificate ()
- VMware vRealize Suite Lifecycle Manager (vRSLCM) - The tale of SSO and RBAC ()
- NorthEast VMUG - February 2019 - vRSLCM Notes, Tips and Tricks from the Field ()
- Southwest VMUG - March 2019 - vRSLCM Notes, Tips and Tricks from the Field v2 ()
- Achievement Unlocked: VMware Certified Implementation Expert 6 - Cloud Management & Automation ()
About the Author:

Name: Christopher Lewis
Twitter/X: thecloudxpert
Role: Domain Expert - VCF Automation & VCF Operations
Company: Broadcom
Recent Posts by Christopher Lewis:
Blog Categories:
active directory 6
aria automation 9
aria operations 2
aws 2
certificate authority 5
certificates 5
certification 91
general 9
home lab 2
microsoft 7
nsx 45
nsx v 41
powercli 8
powershell 6
vcap 48
vcap6 2
vcenter 4
vcf 5
vcix 2
vexpert 9
vmug 5
vmware 99+
vmware aria automation 9
vmware aria operations 5
vmware cloud 3
vmware explore 2
vmware identity manager 2
vmworld 36
vrealize automation 80
vrealize business 2
vrealize operations manager 5
vrealize orchestrator 13
vrealize suite 14
vrealize suite lifecycle manager 20
vsan 5
vsphere 9
windows 6
Top Tags:
active directory 6
api 18
barcelona 24
certificates 11
certification 7
howto 33
microsoft 7
multi tenancy 9
nsx v 43
platform services controller 8
powercli 8
powershell 7
psc 6
vcap 9
vcap6 45
vcap6 cma 48
vcap6 nv 37
vcix6 nv 36
vexpert 19
vmug 8
vmware 99+
vmware aria 12
vmware aria automation 9
vmworld 35
vmworld 2016 13
vmworld 2017 9
vra 13
vrealize automation 74
vrealize operations 8
vrealize orchestrator 21
vrealize suite lifecycle manager 11
vrslcm 20
vsan 7
vsphere 12